Well, What Did You Forget This Time?

Whether you are a new Full Timer, a Newbie, a Part Timer, or a Weekender we all seem to forget something vital to our RVing enjoyment or safety at the beginning of each season.  What do you really need to have to hook up your RV and have a safe but fun RVing experience? To find out I asked a bunch of Facebook RVers to give me a list of their most important, not to be forgotten, “must haves” for the RV before you pull out.  Here is the list in no particular order.


1. Power Cord to hook up the RV along with an extension cord. You need enough to go to either end of your RV.

http://amzn.to/1R7Y3vP
15 Ft 50 Amp Extension Cable
http://amzn.to/1bYJI4w
25-Ft 30 Amp Extension Cord

2.  An extension drinking water hose is a must.  You should have a 25-foot regular hose and a 25-foot extension.

http://amzn.to/1bYKQoC
25 Foot Drinking Water Hose

I make the assumption  that you already have a drinking hose with you.  If not, you are going to need one.  Get a 25 foot one for everyday use and another 25 foot as the extension. (I once stayed at a park where the water was on one side of the TT and the electric was on the other side of the TT.)

3. Another good thing to have is a Water Hose Splitter for the park supply line. That way if you  need some additional outside water you will not need to unhook the water supply to the rig.

http://amzn.to/1AATIH7
Plastic Water Hose Splitter

4. Extra sewer hose is a must these days.  With longer rigs you can’t leave home without it.

http://amzn.to/1E2ycwr
10 Foot Sewer Hose Extension

5. In addition, to the hose extension you should also have a short clear section of sewer pipe to keep an eye on what is coming out of the sewer and to know when it is done draining.

45 Degree Clear Fitting

With the above fitting you can really see if that new RV TP really is quick dissolving.

6. In some States and in some RV Parks you must raise the sewer line off the ground.  It is the law.  There are lots of idea floating around but here is one of the simplest.  Remember in some States this is required.

7. If the park you are staying at has Cable TV you will need some TV cable to go from the Utility Box to the rig.

25 Ft RG6 Cable TV Wire

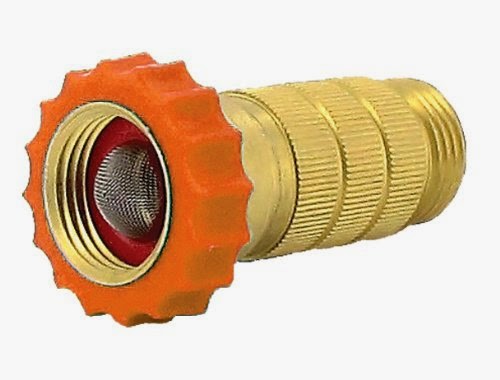
8. How about better tasting water?  Please read the Blog Post on “Water Out Of The Campground Faucet, YUCK!!” for all the best options but, here is just one.
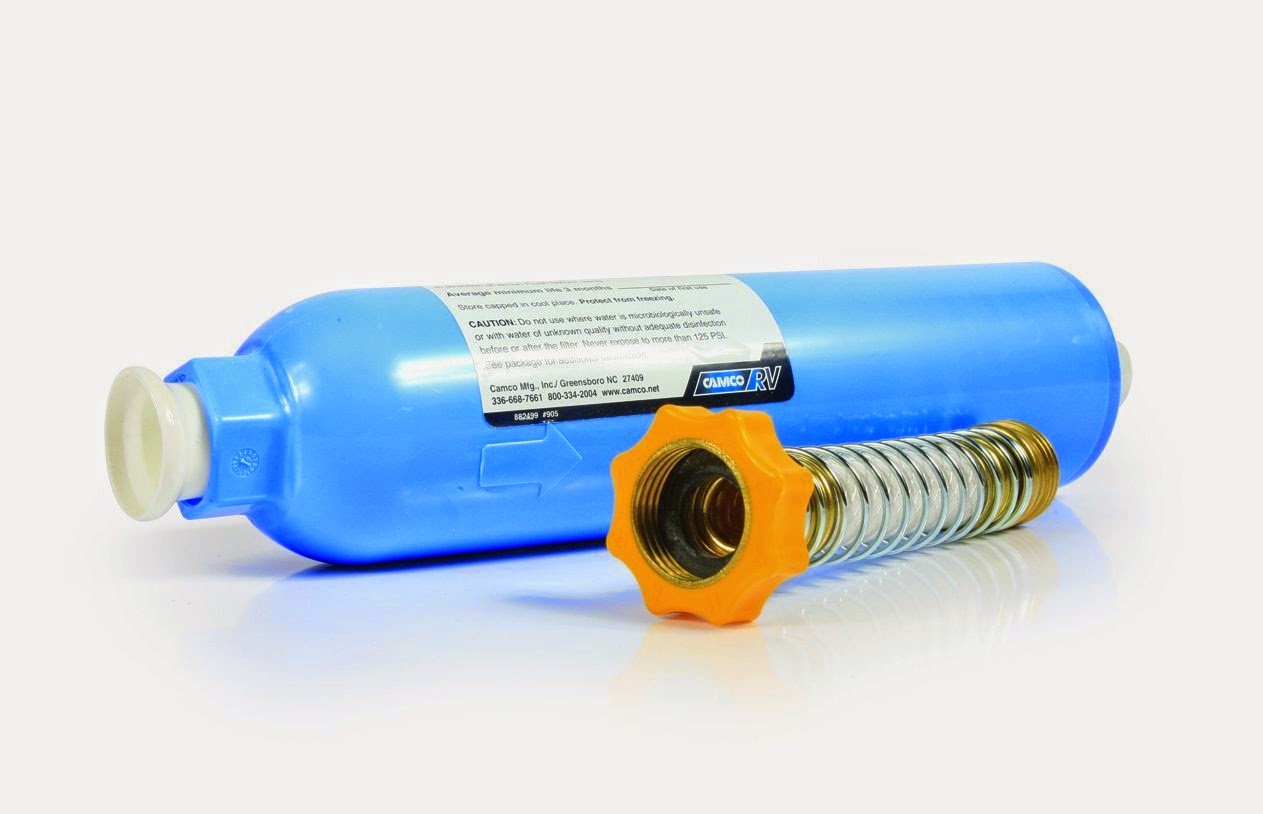
RV Water Filter

9. A good tire pressure gauge is vital for any RVer.  A cheap one is not an option.  As always check your RV tires when Cold.

Good Digital Tire Gauge

10. Wheel Chocks are the next must have item.  Oh, the Horror Stories I could tell.  Get some Chocks.

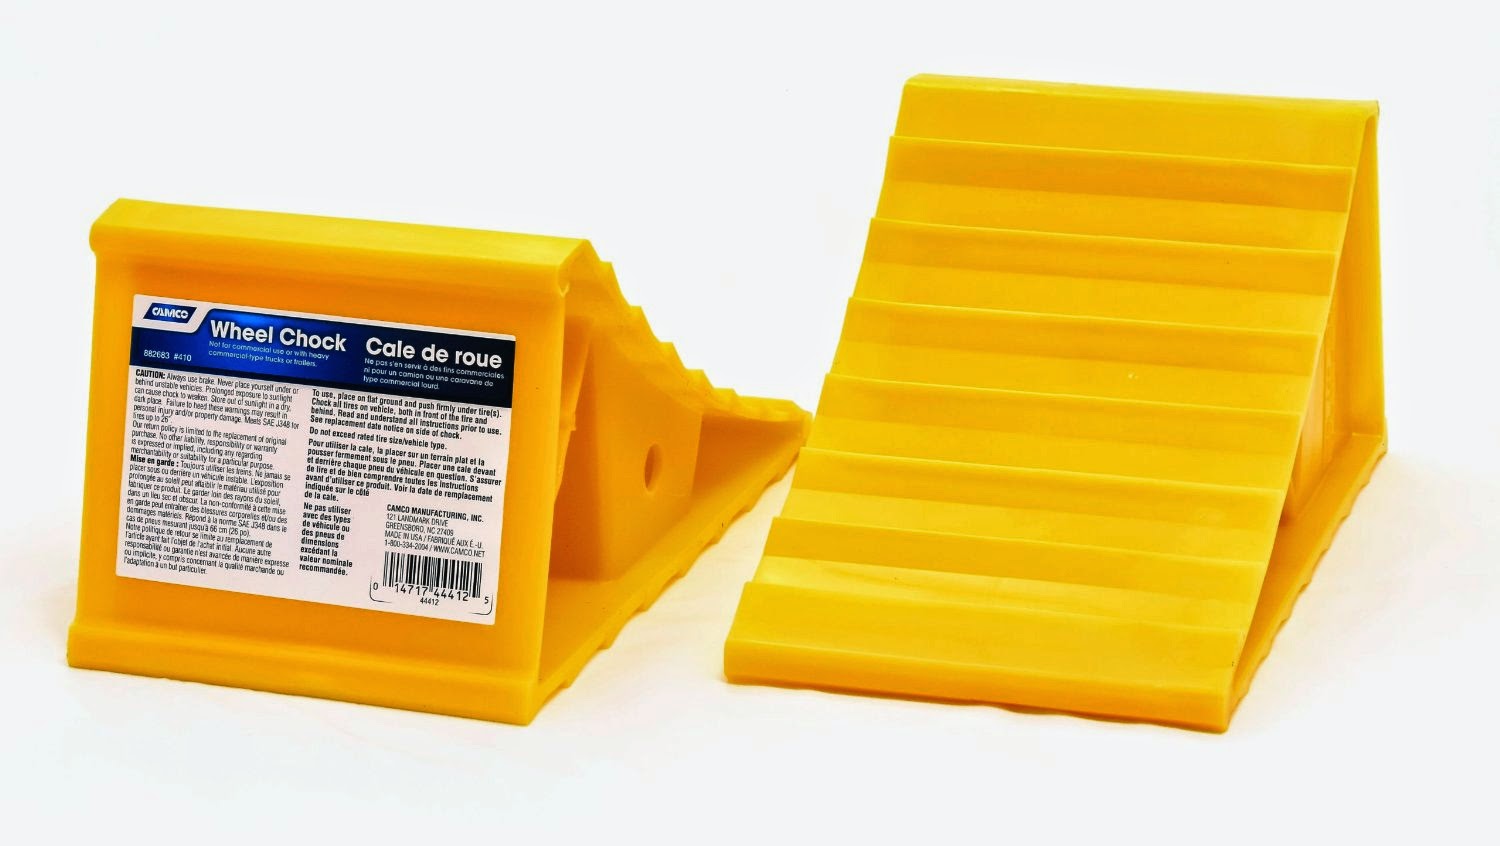
RV Wheel Chocks for Pull Behind RVs.

11.  For reasons of safety and anti-theft I also recommend an X-Chock.
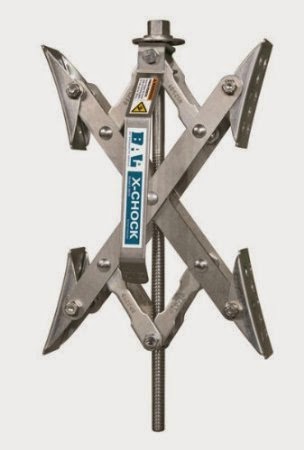
Locking Chock

12. A spare set of water hose washers is a good idea.
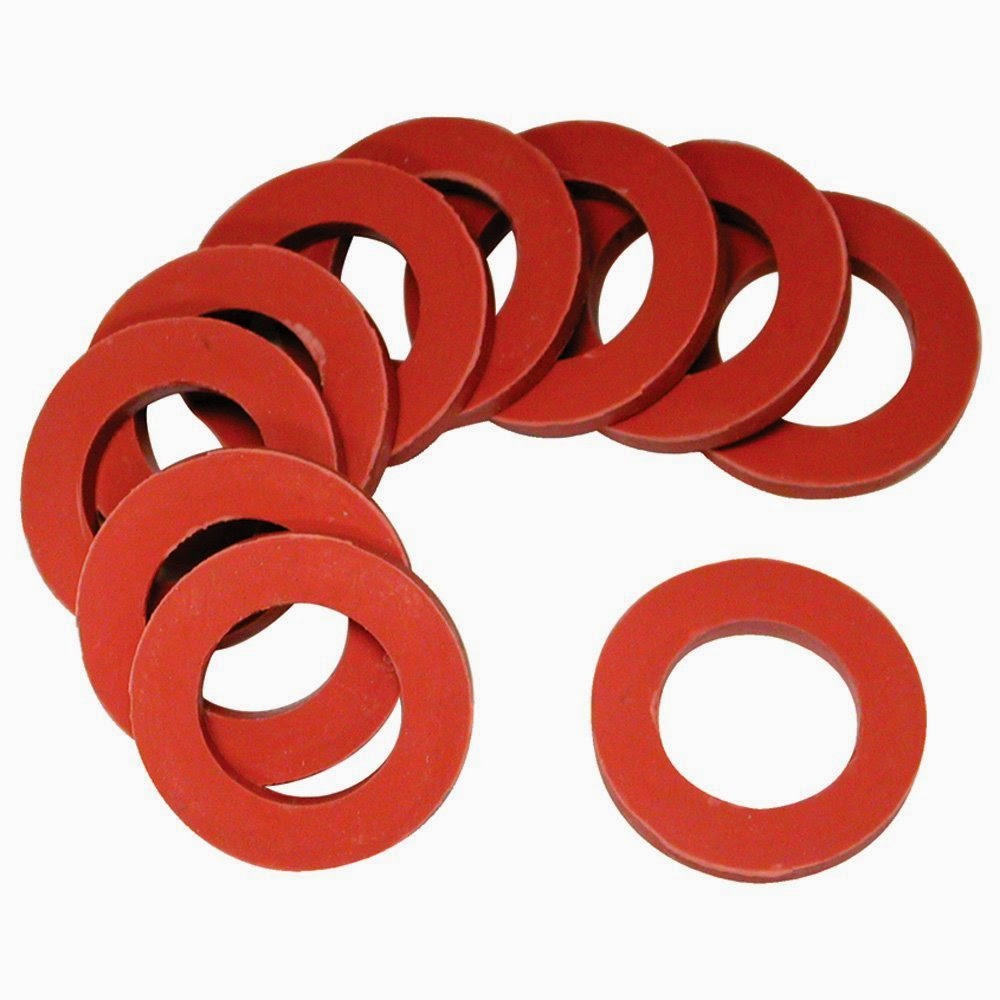
Water Hose Washers

13. And by all means an RV 30 or 50 amp (depending on your RV’s power requirement) Power Management Protector (Surge Protector).

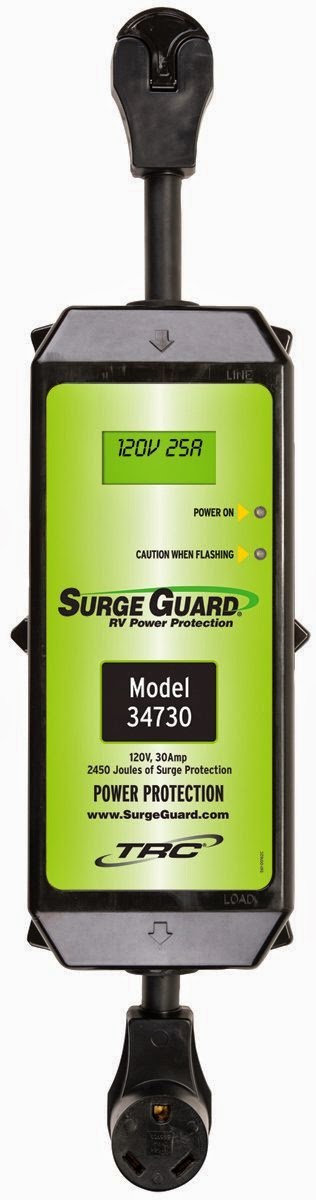
30 Amp Surge Protector
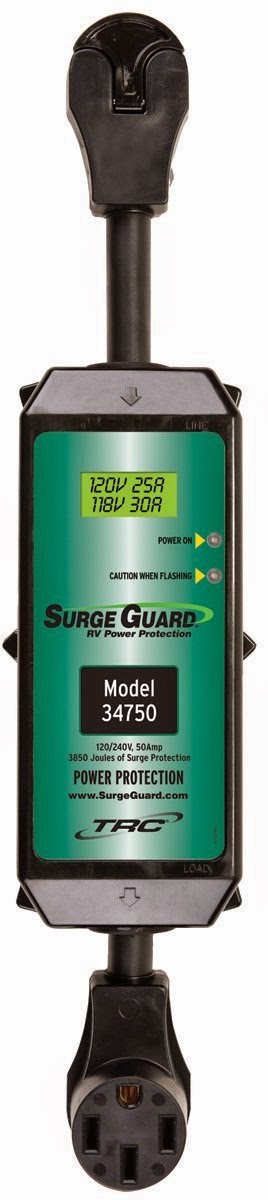
50 Amp Surge Protector

Just be sure to get one that works with your Rig.

14. A Water Pressure Flow Manager would be a good thing as well.  This limits the water pressure to your Rig to no more than 50 psi of water pressure in your RV’s plastic water pipe system.  Much more than that and you might start to blow water fittings.

Water Pressure Regulator
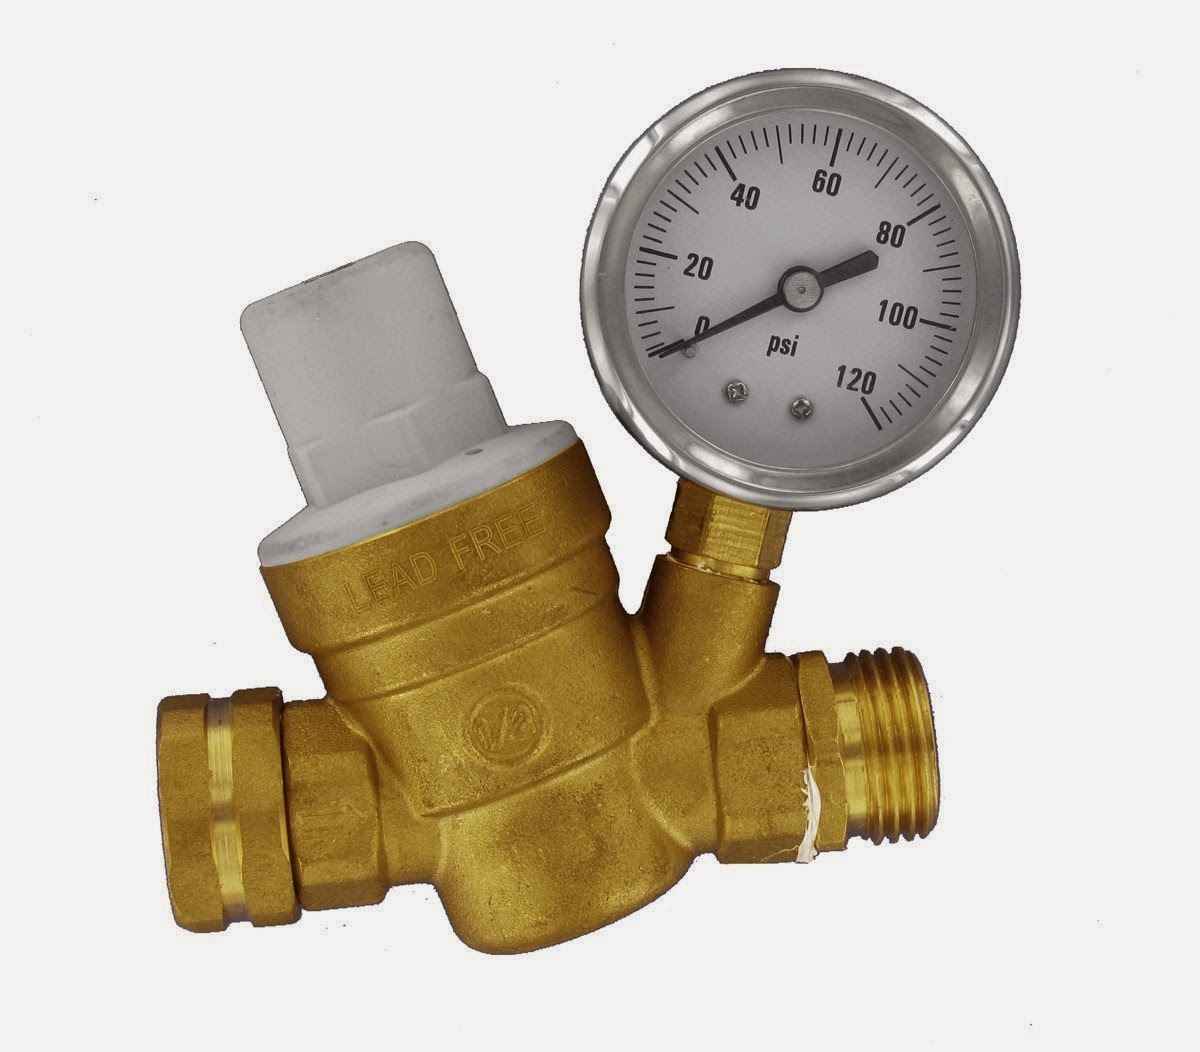
Water Pressure Regulator With Meter

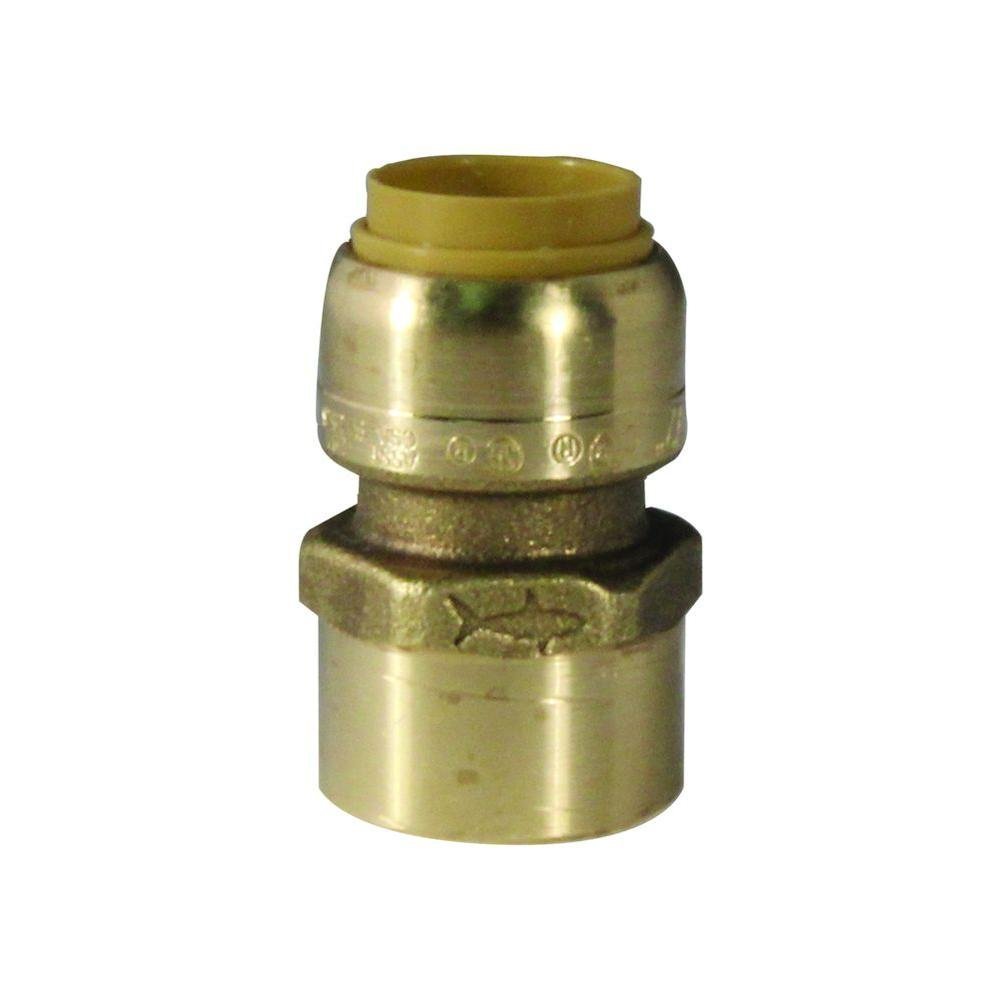
14.5 If you use a Water Hose Splitter, like number 3 above for cleaning out your RV sewer hose then you should have a water Back Flow Preventer like

Water Back Flow Preventer

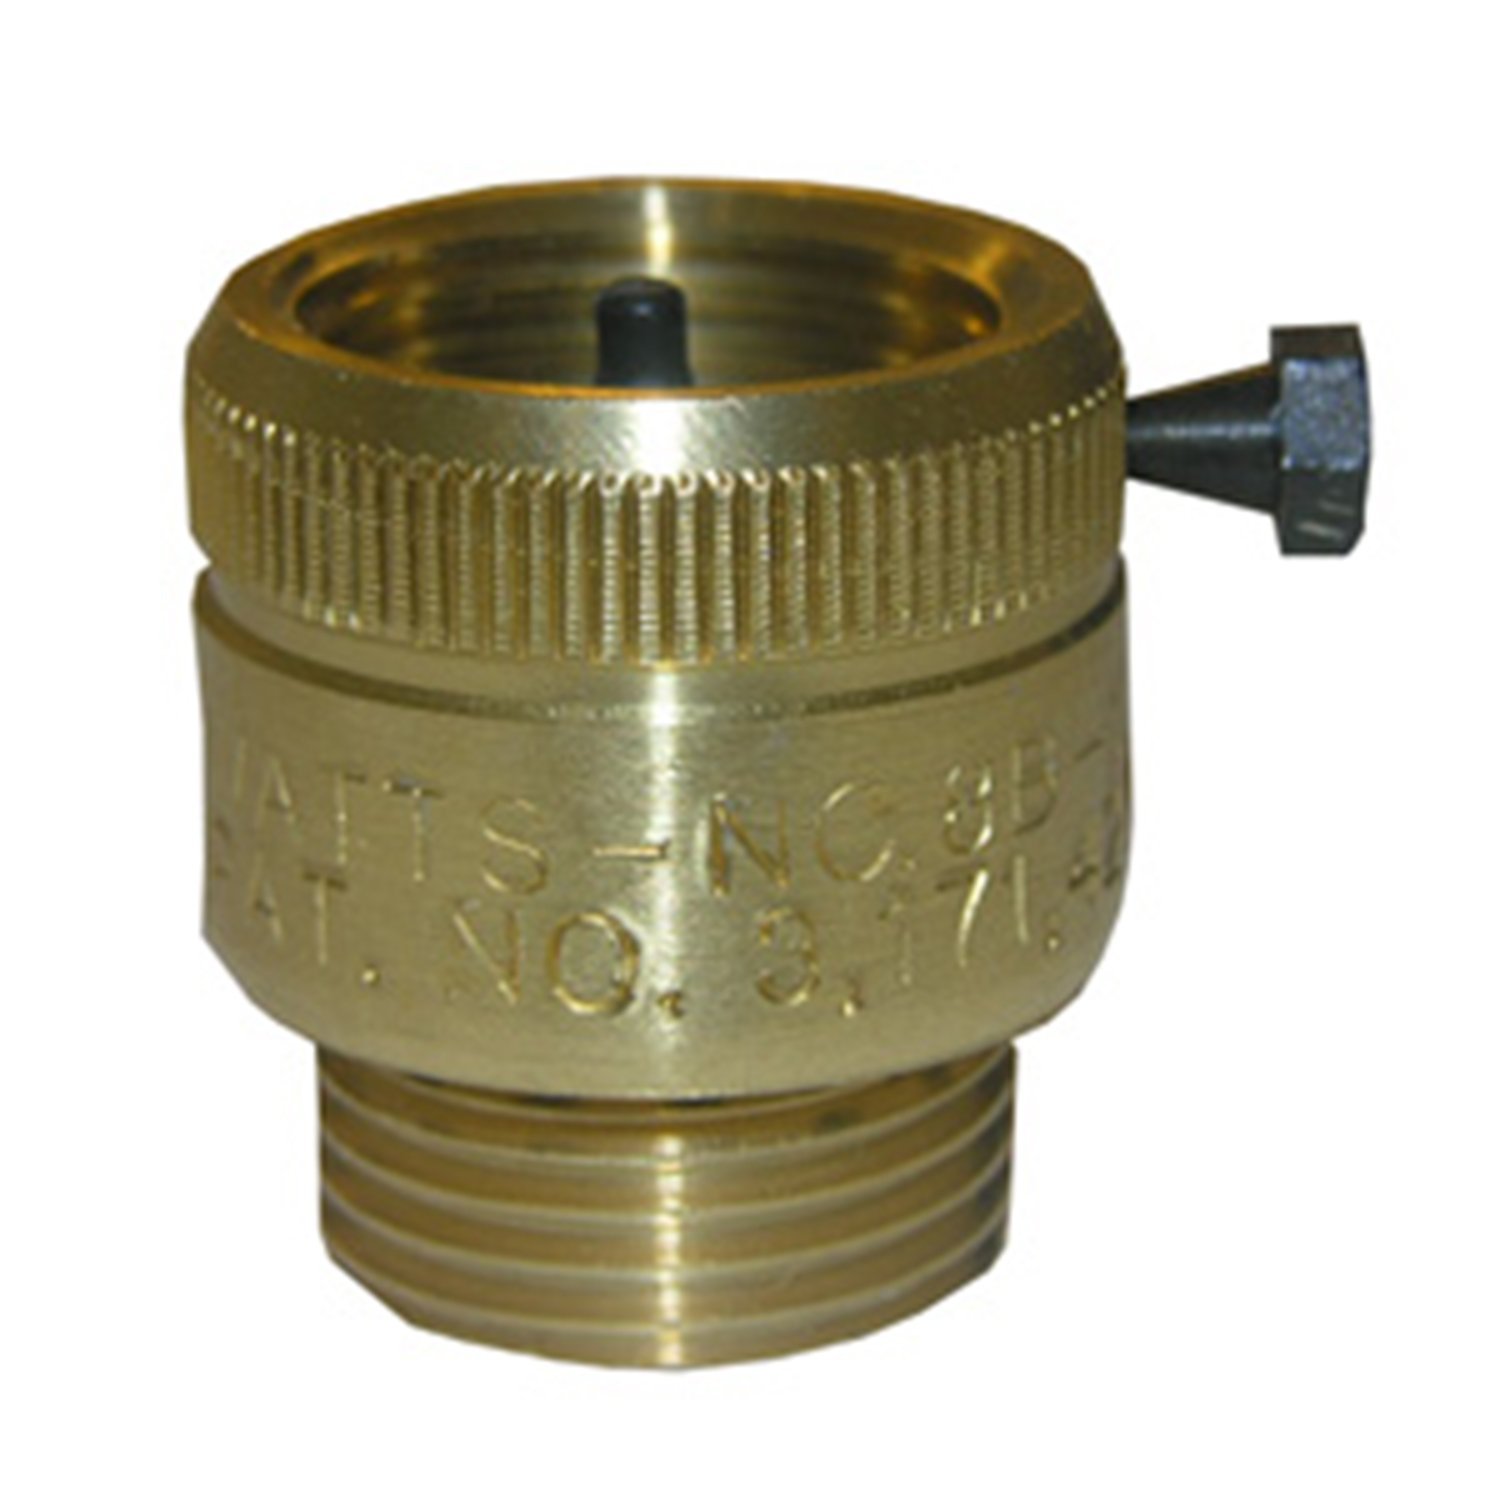
This little unit attaches to the hose splitter and prevents and water hose connected to the open side of the hose splitter from leaking water back into the water source and contaminating it.  Like when you wash out the sewer hose or the spare hose falls into a puddle.

15. Often times people will suggest that you take boards with you to level the Rig in a campsite that is not level.  While boards may work they add weight and can absorb water when left on the ground during rain.  Here is an alternative.
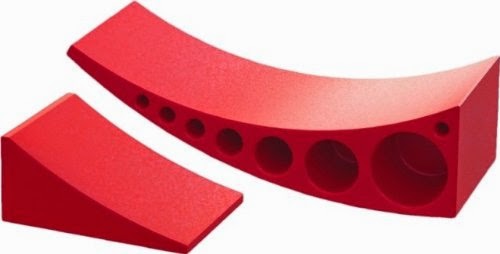
RV Ramp/Leveler

16. You will not want to forget some RV Dog Bones.  These adapters change your electrical hookups from one type to another.  For example from 50amp to 30amp.  Why because the campground only has 30amps. Please read “RV Dog Bones What Are They and How Are They Used” further down in this Blog for more details.

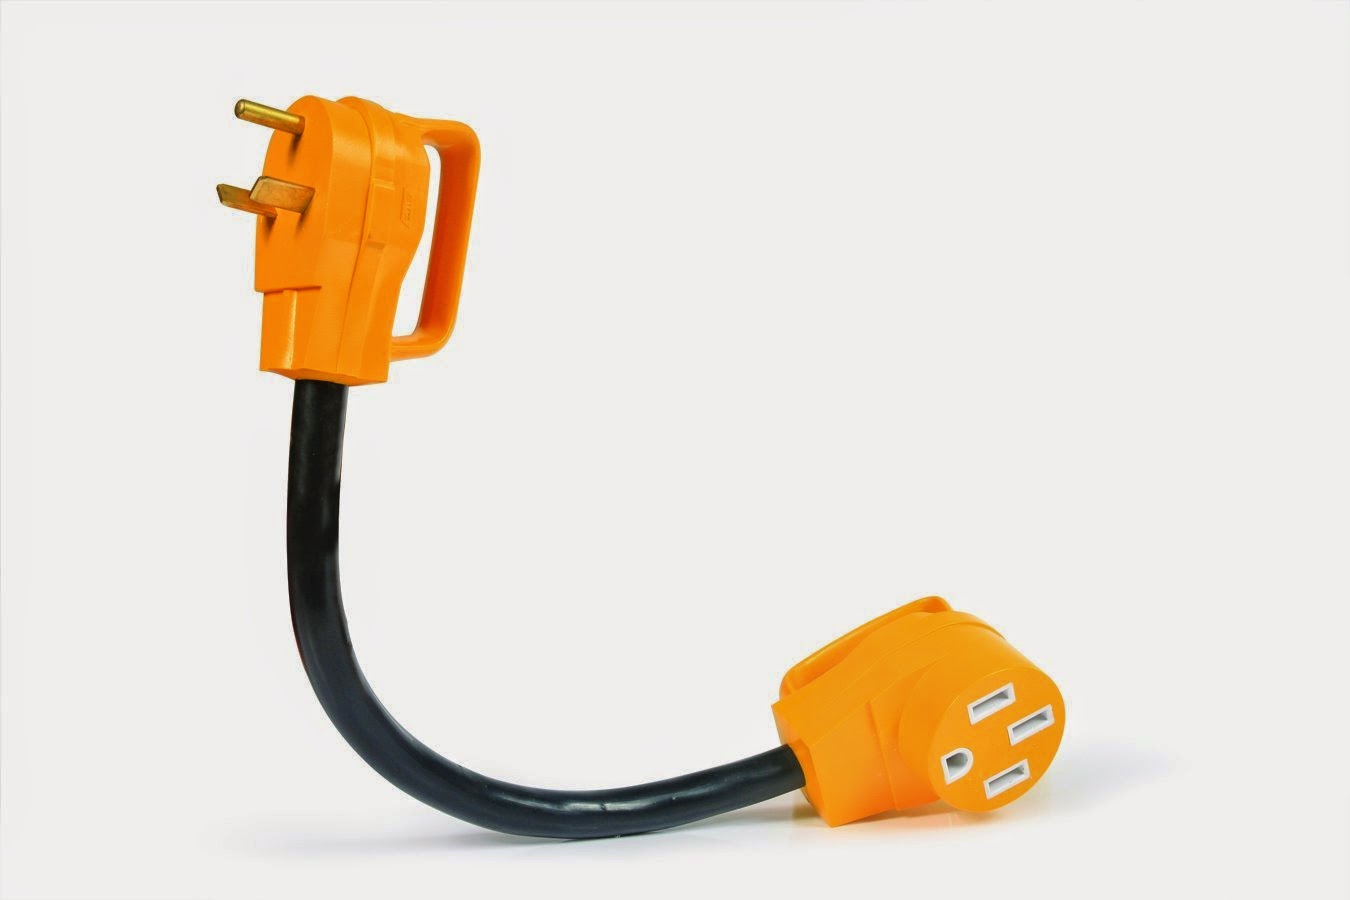
Adapt 50amp Plug to 30amp Plug

17. You should also carry a water hose for everything but drinking.  Wash the kids feet, flush the sewer hose, etc.  You get the picture.

General Duty Water Hose

18. You should also have a spray bottle of disinfectant to use on park water taps.

Spray Disinfectant

Feel free to add your Can’t Be Left Behind” items to the comments area.

Until next time.

The Weekend RVers is a Facebook Group on RVing with Hints & Tips. A group for the Full-timer as well as the Newbie or Wanna B. In case U can’t find us “Facebook.com/groups/Weekend.RVers” we are here hoping you will join us!


And finally, please remember that this blog is an Amazon affiliate. When you order something through any of the Amazon links, it doesn’t add anything to your cost, but I do earn a small commission on everything you buy. Just click on an Amazon link, then shop as usual.

Well, What Did You Forget This Time?

STOP, Bugs From Sticking To Your RV

This is the dreaded part of the year because of our friendly bug population has been attacking our fine looking RVing Rigs.  So after a trip, during a trip, or before storing what do you do, what can you do, and what should you do to stop bugs from ruining your RV’s exterior?

1. Always start with a clean rig.  There are a lot  of products out there to clean an RV but here are a couple that I have used that have really worked for me.  (Your mileage may vary)

Dry Wash

Use this when you have no water available or it is prohibited to use water.

RV Wash

If you have water then this stuff really works.


On Facebook the follow RV Wash was strongly recommended.

Facebook Recommended RV Wash

I have not tried the Facebook RV Wash myself so I can’t comment on it.


You will need some help reaching all the way up to the top of the Rig, so an extension scrubbing brush is in order.

RV Wash Brush


2. OK now that you have the Rig CLEAN now what can you use to keep the bugs off your Rig.  Nothing, the bugs will always be there. But you can make them fall off easier during washing and maybe not stick to your Rig after you and they collide.

Rejex Synthetic Vehicle Wax 

“Thin-film polymer coating designed to provide a high-release surface. Prevents stains and adhesion of common contaminants such as exhaust, bugs, oil, tree sap, bird droppings, road grime.”

This stuff makes it much harder for bugs to stick onto the surface of the Rig and if they do, the bugs slide off easier during the wash cycle.


I have never tried this but have been told that it really works.

Lemon Pledge Makes Bugs Slide Off

I have used the following with some luck. It also puts a UV blocker on the Rig to slow up Sun Fade.

RV Bug Slider with Sun Blocker

Here is the first Facebook recommendation.

Fiberglass Cleaner and Polish

I have read good things about Gel-Gloss and my wife used it for years in our shower.


The second Facebook recommendation is shown below.

Ice Liquid Synthetic Wax, Innovative New Technology Blends Silicone & Organic Polymers To Provide Extraordinary Shine & Durability To Your RV Finish, Nationally Advertised Apply In The Sun Leaves No Residue, Quickest Easiest Wax To Apply & Use.


The ICE Polish is the latest thinking from the RV community on an easy to apply and remove and it makes bugs slide right off.


3. OK, one more thing you will need for the above polishes to wax on, wax off.

Micro Shine & Clean Towels

4. If you have read this far then I will give you the latest bug remove secret. Dryer Sheets, that’s right.  The sheet will remove bugs quickly even if it is a used sheet.  So start saving you old used dryer sheets to remove RV splattered on dried out bugs.

Fastest Bug Remover In The West

Until Next Time.

The Weekend RVers is a Facebook Group on RVing with Hints & Tips. A group for the Full-timer as well as the Newbie or Wanna B. In case U can’t find us “Facebook.com/groups/Weekend.RVers” we are here hoping you will join us!

And finally, please remember that this blog is an Amazon affiliate. When you order something through any of the Amazon links, it doesn’t add anything to your cost, but I do earn a small commission on everything you buy. Just click on an Amazon link, then shop as usual.


Shop Amazon Warehouse Deals – Deep Discounts on Open-box and Used Sports Equipment

STOP, Bugs From Sticking To Your RV

Fire, Smoke, Gas, Oh My!!!

Did you know that there is a date code on the smoke detector as well as your carbon monoxide detector in your RV?  Did you know that the propane detector in your RV has an end of life?


I sure didn’t know.  If you are just changing the detector batteries at the beginning of each RV season and removing the batteries at the end of each season you may not be doing everything you  need to be safe, there is more to it.  When was the last time you tested all your detectors to be sure that they all worked? (In many cases pushing the test button on the detector does not test the most important part of the detector, the sensor.)  Do you know how to test the detectors?  When is the last time you had a fire drill in your RV?

Let’s look for some answers.  On the back of every smoke detector, there is a date code.  You may have to hunt for it but it is there.

Beginning in 1999, Underwriters Laboratories (UL) required the manufacturing date code on the back of the device to be printed in plain English. This information may appear on the back of the device, on the face of the horn, in the battery compartment or on the top sensing chamber.

It is widely held in the RV industry that if your detector is more than five years old, or is out of date, it should be replaced.

Some detectors have permanent batteries built-in and others need to be replaced annually.  Always use alkaline batteries when replacing batteries in detectors.  Alkaline batteries last the longest in low power usage situations, such as detectors.

Now let’s talk turkey.  Most RV manufacturers use the lowest cost, simplest smoke detector they can in their rigs.  So false alarms and the possibility of alarm failures are there.  What can you do, upgrade your standard smoke detector to a combination ionization and Photoelectric smoke particle alarm such as the

 Kidde Model Pi9010 Dual Sensing Smoke Detector

These alarms have fewer false alarms and will give you and your family more time to get out if there is an emergency.

Most fire safety experts agree that you have about 20 seconds to get out of an RV that is on fire before you will be overcome and not be able to get out.

Where should I put the smoke detectors in the RV you ask?  One should be in the Master bedroom and one in the Bunkhouse (if your RV has one).  Another one should be located in the kitchen area of the rig.
There is a new small size model smoke detector for use in storage bays or in areas where the size of the detector is important.

Photoelectric Smoke Detector

This type of small space detector is a great idea for storage areas where we may have cleaning chemicals and fire-starting chemicals and other stuff that in the right conditions can ignite and start a fire.

You can test smoke type detectors by using a burning candle near the detector and then blowing it out.  See what happens.  Also, you can push the button located on the detector to test the battery.
Pushing the button just test the battery and the electronics and does not check the sensor inside the unit.  The candle does that.

Next we have the Carbon Monoxide Detector.  This detector looks for the gas from combustion. CM gas is odorless, colorless, and tasteless.  This is a very deadly gas.  Every year there are deaths caused by CM gas when people run gasoline generators outside of their trailer. This detector can be located in the hallway to the bedrooms or in the bedroom itself.  Don’t forget to put one in the bunkhouse. The CMD should be located off the floor about head high or higher. In my rig, the detector is located on the ceiling. The CM gas is lighter than air and will be found near the ceiling first.  Here is the one that I have  Battery Operated Carbon-Monoxide Detector.

Battery Operated Carbon-Monoxide Detector

NOTE: Be sure to replace the batteries at the beginning of the RV season (remove batteries at the end of the season) and keep the surface of the detector clean.

The LP Gas Detector is the last of the required detectors in your RV.  This one usually runs off of the 12-volt battery system of the RV.  It is located very near the floor usually in the hallway to the master bedroom, but not always.  This is the guy that will detect if you stove, oven, furnace, refrigerator, or any other LP gas product in the RV is leaking LP into your breathing space.  LP Gas is heavier than air and sinks to the floor and builds up from there.  It has a bad odor that has been added to the gas by the LP Gas provider.  So LP Gas is not odorless, you sure can smell it.  Unless of course you are sleeping.  If you smell gas get out, get out now, do not look for the leak just get out, and get help.

Here is a 12 volt LP Gas detector that has gotten good reviews and could replace what you are currently using if after testing yours does not work or the 5-year replacement date is up.  Remember pushing the test button on a detector does not test the sensor just the electronics and sounder.  Here is a detector that has gotten good reviews 12v LP Gas Detector.

12v LP Gas Detector

So how do you test one of these?  Remember those BIC lighters and Charcoal Starters?  Well get down near the detector and flick the BIC but do not light it.  Hold the lighter near the detector for a few seconds and you should set the alarm going.  Stop the flow of gas from the BIC and blow on the detector to dissipate the gas and the alarm should stop sounding.

A word of caution here I think is advisable.  I have heard that people are replacing the two gas detectors with one that claims it will do both jobs.  I would not want to bet my family’s safety on this all in one detector.  These gasses are not the same weight in the air one rises and one sinks, now how is one detector going to be in the right place to detect the right gas?  Just say’in.

Now let’s talk about firefighting.  Don’t do it.  Get Out!!!  If you must fight the fire to give yourself and your family more time to get out, do you have the right fire extinguisher?  Here again, in most cases, the cheapest fire extinguisher was installed in your rig.  When was the last time you check the extinguisher?  Now is a good time before you start off for this season.  If it is a powder type, turn it over a few times to resettle the powder.  If it is a squeeze the trigger type what is the date of manufacture?  You should plan on replacing the trigger type ever six years or sooner if the gauge says so.   RVers die every year from rig fires, use the fire extinguisher to give you and your family time to get OUT not to fight the fire.

You need a fire extinguisher in each bedroom, in the kitchen area, and at the front and back door of the RV and in the storage area.  You could also have one under the driver’s seat of the TV or Class A. I recommend using

Fire Gone

as the best you can get to give you more time.  If the kids are old enough be sure they can operate the Fire Gone and be sure to put one in the bunkhouse.

Because of recent fire events, the following fire suppression device was developed RV Refer Compartment Fire Suppression.

RV Refer Compartment Fire Suppression

Because of the number of fires that have been caused (or thought to have been caused) by refrigerators in RVs, an automatic fire suppression system has been developed, shown above.  This system is one the average RVer can install and will activate in the presence of a fire in the refrigerator compartment of an RV.  While you still need to get out as quickly as possible this unit may put the fire out completely or give you more time to, get out, either way, it is a plus.

OK, the fire drill.  Do you know how to get out of your Rig if the front door is blocked by fire?  In each bedroom area of the rig as well as other locations you will see a window with a red lever at the bottom.  With the word EMERGENCY EXIT printed on it.  Move the handle in the direction indicated and the window will open and you can climb out.  Of course, it will be a real job because you may have forgotten a few tools that will help make it easier.  First did you have your emergency window prop open stick?  If you said no, you should.  Take an old broom handle, rake handle, hunk of PVC, etc, and cut it to 24″ long and paint it red.  Attach two dots of hook and loop to the top and bottom of the stick and to the wall, alongside, or below the window and voila you are ready.  When the emergency occurs, open the window put in your prop stick and pull a blanket or comforter from the bed or a blanket from other area and lay it across the bottom of the window frame covering the exit handle area of the window.  This will stop you from being cut or badly scratched by the window frame as you crawl out.

Have a meeting place well outside of the rig area, that everyone knows and will meet at if there is a fire so you can take a head count and be sure everyone is safe.

Last but not the least.  Do the kids know how to get out?  Each season before you hit the road you should go over the fire safety rules and how to get out.

Rule number,

  1. GET OUT
  2. GET OUT
  3. NEVER FIGHT THE FIRE (you have approx 20sec to get out before you can’t)
  4. DO NOT GO BACK FOR THE DOG, CAT or GOLDFISH
  5. EVERYONE MEETS ACROSS THE ROAD

I am sure you get the picture.  Cats and dogs are part of the family for sure, but they are not humans and the kids and grandma are far more important.  Be sure to remind the kids of that.

Fire Safety Quick Check

  1. Test all Fire, LP Gas, and CM detectors
  2. Do not fight the fire GET OUT!!!!
  3. Know where the emergency exits are located
  4. Have an escape plan
  5. Have fire drills
  6. Be sure the fire extinguishers are up to date

Until next time

And finally, please remember that this blog is an Amazon affiliate. When you order something through any of the Amazon links, it doesn’t add anything to your cost, but I do earn a small commission on everything you buy. Just click on an Amazon link, then shop as usual

Fire, Smoke, Gas, Oh My!!!

911, What Is Your Emergency? —Water!!

Have you ever opened the Kitchen or Bathroom under sink cupboard doors only to find the contents wet or a bit damp?  To make  matters worse, you are dry camping (boon docking) and have no one around to ask what to do.  Well, wonder no more just keep reading to find out.

First you need to find the source of the leak.  This could be from water seeping around the top of the sink and draining inside the cupboard.  This is a simple and quick fix. Just use some Kitchen and Bath approved caulk, such as,

Kitchen and Bath Caulk

Follow the instructions on the tube and that water seepage should be a thing of the past.  I keep a tube of this product in white and clear in the RV all the time because you just never know.  But, what if that is not the problem?

Next check all the black sewer pipes to be sure the fittings are good and tight.  The black drain pipe fittings should be hand tight not wrench tight.  Do be careful not to over tighten these fittings as you can break the pipe or strip out the plastic threads on the pipes.  I check these fittings every time in the Spring before the first camping trip and several more times during the year to be sure they are tight and doing just fine.  I did find a loose one in the Master Bathroom last year.  So all the black pipe fittings are tight and you still find water and things damp.  Now, what?

Well, there is really only one thing left.  The hot and cold water fittings.

From the picture above you can see the red (hot) and, in this case, the white (cold) water lines as well as the black plastic sewer pipes. Getting a bit closer, we see where the problem is.

The metal clip that holds the screw on connector has come a bit loose and the water is dripping out from that fitting on to the stuff under the sink.  It is not a flood but a constant drip.  This scenario is not good for lots of reasons and needs to be taken care of right now.  If you do not have the PEX crimping tool you will never get the metal squeezed tight enough to stop the slow leak.

There is a quick and sure-fire way to fix this problem and end up with a far better connection than what the RV manufacturer used.  It is called a Shark Bite connector.

Shark Bite Push-on Connector

This is a push-on type of connector for the plastic hose and does not need any special soldering or tool to install.  You just cut off the leaking end and push on the Shark Bite.  Screw the female end to the faucet and you are good to go.

Please note to double check that after you cut off the old leaking connection, that you will still have enough plastic pipe to reach back to the faucet once you put on the Shark Bite.  The plastic pipe used in most RVs is 1/2″ and the Shark Bite Connector you will need is the 1/2″ type.  This connector is available in most hardware stores and the Big Box retailers of plumbing supplies. The packaging looks like below.

The package and product at my big box retailer was not hanging just stuffed  into a box on the shelf so I had to look a bit for it.

So here is what I ended up with.

You can see on the red plastic pipe what I had before the switch and you can see by the white pipe what I have now.  My plan is to change over the red pipe connector to a Shark Bite type to ensure no more future leaks from this area.

Here is a convenience add-on that I bought, just to help in replacing future connections with Shark Bite.  It is called the Shark Bite Deburring Tool. After cutting the old fitting off the PEX plastic pipe, you use this tool to deburr the pipe and the tool shows you how much of the plastic pipe you have to push into the Shark Bite connector to make a good water tight seal.

Shark Bite Deburring Tool

Again this tool is not mandatory.  It is just a nice convenience tool to have around.  One last tool you might want to pick up is the PEX plastic pipe cutting tool.  Again not a mandatory tool to have just a nice tool to have.

PEX Plastic Pipe Cutting Tool

Well, that is it.  If you have a water leak anywhere even a constant drip you need to fix it fast and the Shark Bite pipe fitting system is the fastest and easiest system I know of.  I keep a couple around because you just never know when you will need them and the cost is cheap insurance against a faucet connection leaking and damaging the rig.

I would like to thank Michael Cook who’s Facebook posting gave me the idea for this post.

Until next time.

Don’t forget to join the Weekend RVers group on Facebook a no DRAMA place with Hints, Tips, Free Stuff, Recipes, for every kind of RVer.

And finally, please remember that this blog is an Amazon affiliate. When you order something through any of the Amazon links, it doesn’t add anything to your cost, but I do earn a small commission on everything you buy. Just click on an Amazon link, then shop as usual.

911, What Is Your Emergency? —Water!!